
When Jack Frost first nips at your nose and your horse or pony’s coat starts getting fuzzy, it’s time to make your winter clipping plan. Before you pull out the clippers, consider several questions. How much work will your horse or pony be doing this winter? What kind of shelter do they have from winter weather? How old are they? Will they be showing?
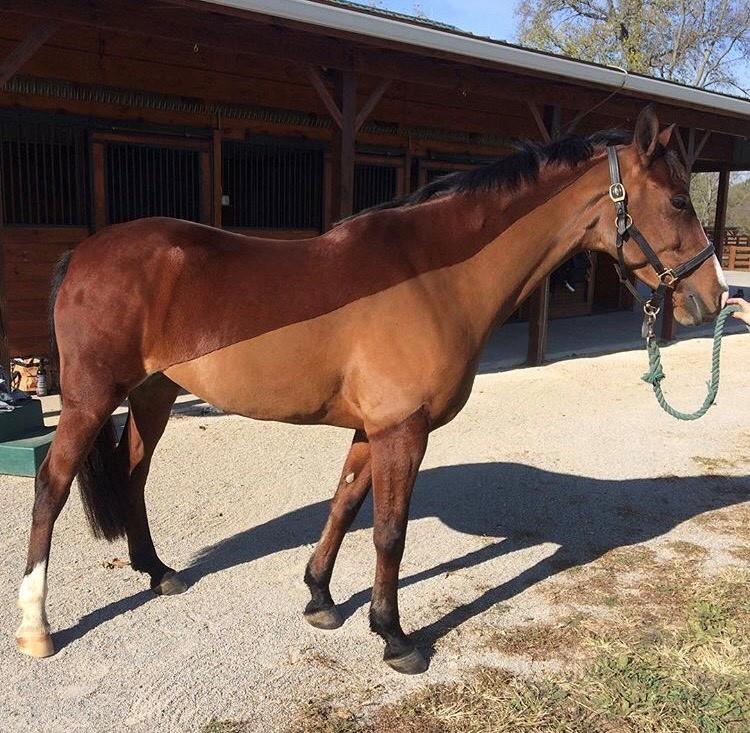
Photo: Courtesy of Shannon O'Hatnick
Particularly in the case of older horses and ponies, it’s also worth talking to your veterinarian about any conditions your horse might have—like Cushing’s disease (which can cause heavy hair growth) or anhidrosis (an inability to sweat)—that could affect how and when you clip.
Before you start, make sure your clippers are in good repair with clean, sharp blades. Also be sure your horse has blankets that are of the appropriate range of weights and that are clean and in good repair, because once he’s clipped he will need blanketing.
Now you’re ready to tackle that clip job. We tapped Shannon O’Hatnick, owner of Radiant Clips and assistant trainer at Bascule Farms in Poolesville, Md., to get her top tips for achieving the straight lines and a smooth finish for a professional-looking clip.
Choose Your Body-Clipping Pattern
Although there are some variations on these, the five basic clipping patterns that O’Hatnick uses most often for horses who are in work or showing are
- The strip clip (for horses in light work or who live outside 24/7). “It’s a very minimal clip that just takes the hair from underneath the throatlatch and neck, and a little bit of the chest and under the belly,” O’Hatnick said. “It helps a horse cool down if it’s still getting sweaty in really cold temperatures or is in light work. The horse still has most of its coat, but there’s a bit of an air channel to help it cool down.”
- The trace clip (for horses in light to medium work). “This takes off a little more than the strip clip,” she said. “You take off the hair under the jaw, on the lower half of the neck, under the neck, the chest, under the belly, and about the lower half of the side of the horse. But you’ll leave the hair long on the legs, the face, and the horse’s back. The horse is still kept warm but it has a little less of its coat, to help it cool down a bit faster, and you’ve taken off excess hair in the areas where a horse is prone to get sweatiest.” The trace clip commonly is used for horses in light to medium work.
- The Irish clip (for horses in light to medium work). This is variation on the trace clip takes off a bit more of the neck, chest, and side of the horse, starting immediately behind the ear in a diagonal line down to the bottom of horse’s flank, almost to the stifle. Some versions shave the lower half or all of the face. “It takes off more than a trace clip but accounts for the same sweaty areas that need hair taken off: the neck, chest, under the belly, and a little more of the side,” O’Hatnick explained.
- The hunter clip (for horses is medium to heavy work). “You’ll shave off almost everything, except the legs and a saddle mark where the saddle goes, to leave protection in those two areas,” O’Hatnick said. “Horses with a hunter clip will have to be blanketed a little heavier than those with, say, a strip clip.”
- The full body (for horses in heavy work, who are show horses, or who live indoors with access to dry turnout). “This is primarily for show horses that have to have the entire coat shaved off so that they are smooth and clean-cut,” she said. “It allows complete breathability when you’re at higher levels and the horse is pretty much sweaty everywhere. It also makes it much easier to groom your horse for show purposes, and it can be helpful for horses with skin issues or metabolism issues where they can’t shed out their own coats. With this clip, you’ll need to blanket even heavier and even use a hood.”
Before Clipping
“Have your horse as squeaky clean as possible!” O’Hatnick advised. “If you’re able to bathe it, do. Scrub as much as you can and really rinse out that extra soap. If you can’t bathe, curry, curry, curry!
“Then use whatever kind of leave-in conditioner, light oil, or show polish spray you can to make the hair nice and slick so it will be more clippable.”
Don’t forget to prepare yourself, too. “You’re going to get hair everywhere, so make sure you have some kind of full-body painter’s suit or long-sleeved white shirt with overalls—something that will help you stay comfortable and won’t let the hair in,” O’Hatnick said, adding that applying baby powder to your skin can also help keep those pesky horse hairs off.
Tips for a Straight, Smooth Clip
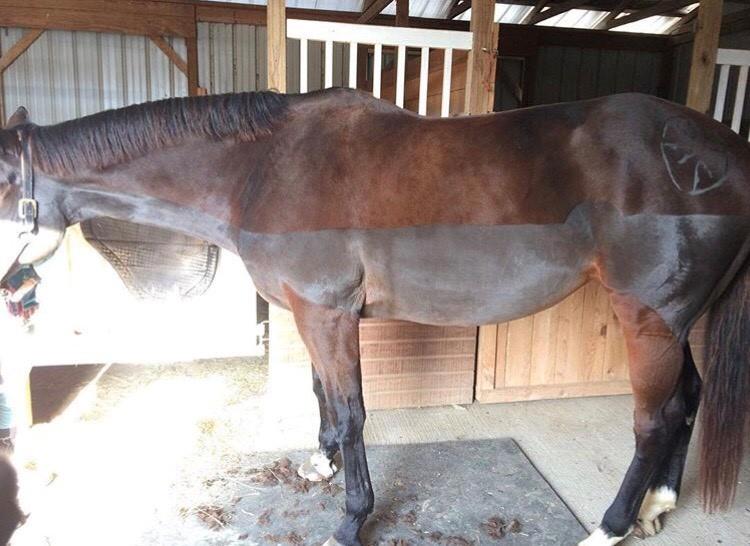
Photo: Courtesy of Shannon O'Hatnick
Straight lines. For patterns like the trace or Irish clip that require straight lines, O’Hatnick recommends using painter’s tape or baling twine and a washable marker or lightly wet chalk to mark out the line before you start clipping. To make sure the lines are even on both sides of the horse, “I make sure that when I’m looking either at the front or at the back that both sides are at the same height. If the front and the back are lined up, if you’ve made that straight line on the side, it should line up properly from side to side,” O’Hatnick said. Another tip is to use a pen to mark the middle of a length of string that, when draped evenly over the horse’s shoulders or back, places the clip line symmetrically on each side.
Avoiding clipper tracks. “As you’re clipping the hair, you want to clip against the grain,” O’Hatnick said. “But always go back and clip angled against the grain so you can get rid of excess lines that might be left.”
Keep it smooth. “For flabby or wrinkly skin like they have under their jaws or behind their elbows, be sure to pull that skin back so you can make sure you get a clean, smooth cut, even where the skin naturally folds over,” O’Hatnick said. That also helps prevent accidental nicks and cuts.
Use smaller clippers for detail work. “If I’m doing a full-body clip, I also use two different sizes of clippers; I use large body clippers for the neck, barrel, and rump, and then I’ll have a smaller pair to clip the face, ears, and harder-to-reach crevices in the legs to finish up.”
Cool and lubricate the clippers. “Lubricate your clipper blades frequently and generously,” O’Hatnick said. A good guide is to stop to every 10 to 15 minutes to clean and lubricate clipper blades and let them cool.
Once your horse has a nice, clean clip, O’Hatnick suggests applying leave-in conditioner or light oil. “That will help soothe that skin and slick any excess hair off,” she said.
Fun Stuff
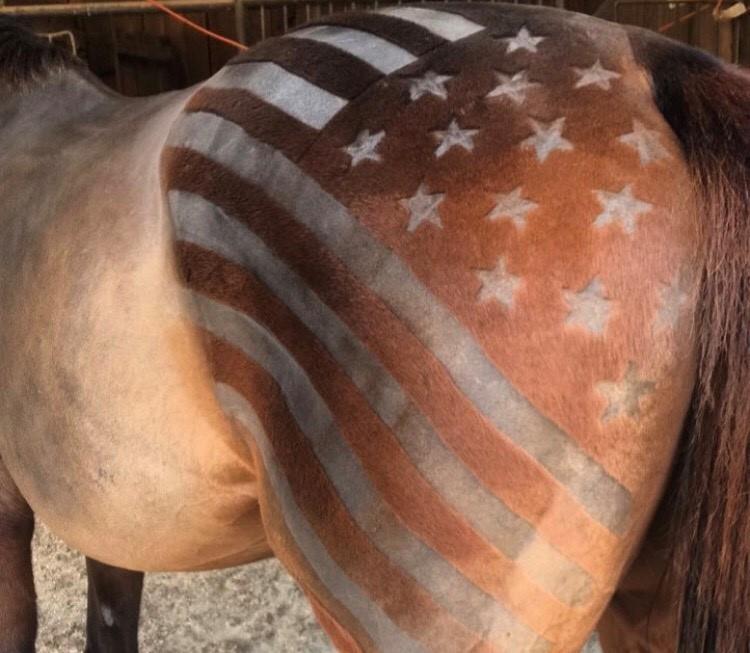
Tempted to buck tradition with your clip job with a creative pattern? That’s a fun option, especially for kid-friendly lesson programs or for a horse or pony that won’t be competing over the winter. But be careful, O’Hatnick cautions: using a business name or logo could be considered marketing, so understand the rules before you plan and execute your design.
“It’s a fun idea for kids to do, and a lot of kids are enjoying it, because it’s fun and cute and stylish now,” she said. “I think at the lower levels it’s a trend that’s starting to grow, though they’re sticking with the traditional clips at the upper levels.”
You can find stencils online, but O’Hatnick, who studied art in high school, prefers freehand. “I like using my imagination!” she said. “I don’t use anything other than my clippers, but you can draw your design on first with chalk or use a stencil or even design your own stencil. Sometimes, for more detailed, intricate designs, I’ll use a closer-contact blade that will trim a little shorter and make the details stand out more. It’s a fun way to be artsy and still be doing something with horses.”
Want to learn more?
US Equestrian members can check out these resources in the Learning Center at USequestrian.org/learn.
Video: “Body Clipping Your Horse” with Shannon O’Hatnick
Article: “Winter Blanketing Basics” with Emma Ford
Checklist: “Clipper Maintenance Tips”
Want more articles like this delivered to your inbox every week? Sign up here to receive our free Equestrian Weekly newsletter.
This article is original content produced by US Equestrian and may only be shared via social media. It is not to be repurposed or used on any other website aside from USequestrian.org.